[Kotlin Multiplatform] Theme 설정
Kotlin Multiplatform을 생성한 후 프로젝트에 Theme를 설정하는 방법을 알아볼것이다.
간단하게 Material Theme Builder를 사용해서 Theme를 생성하고 프로젝트에 추가한 후 설정하는 방법인데 아래 설정방법을 따라하면 쉽게 할 수 있다.
초기 프로젝트 생성 및 설정은 아래 링크를 참고한다.
https://park-chris.github.io/posts/KMP-프로젝트-시작하기/
설정방법
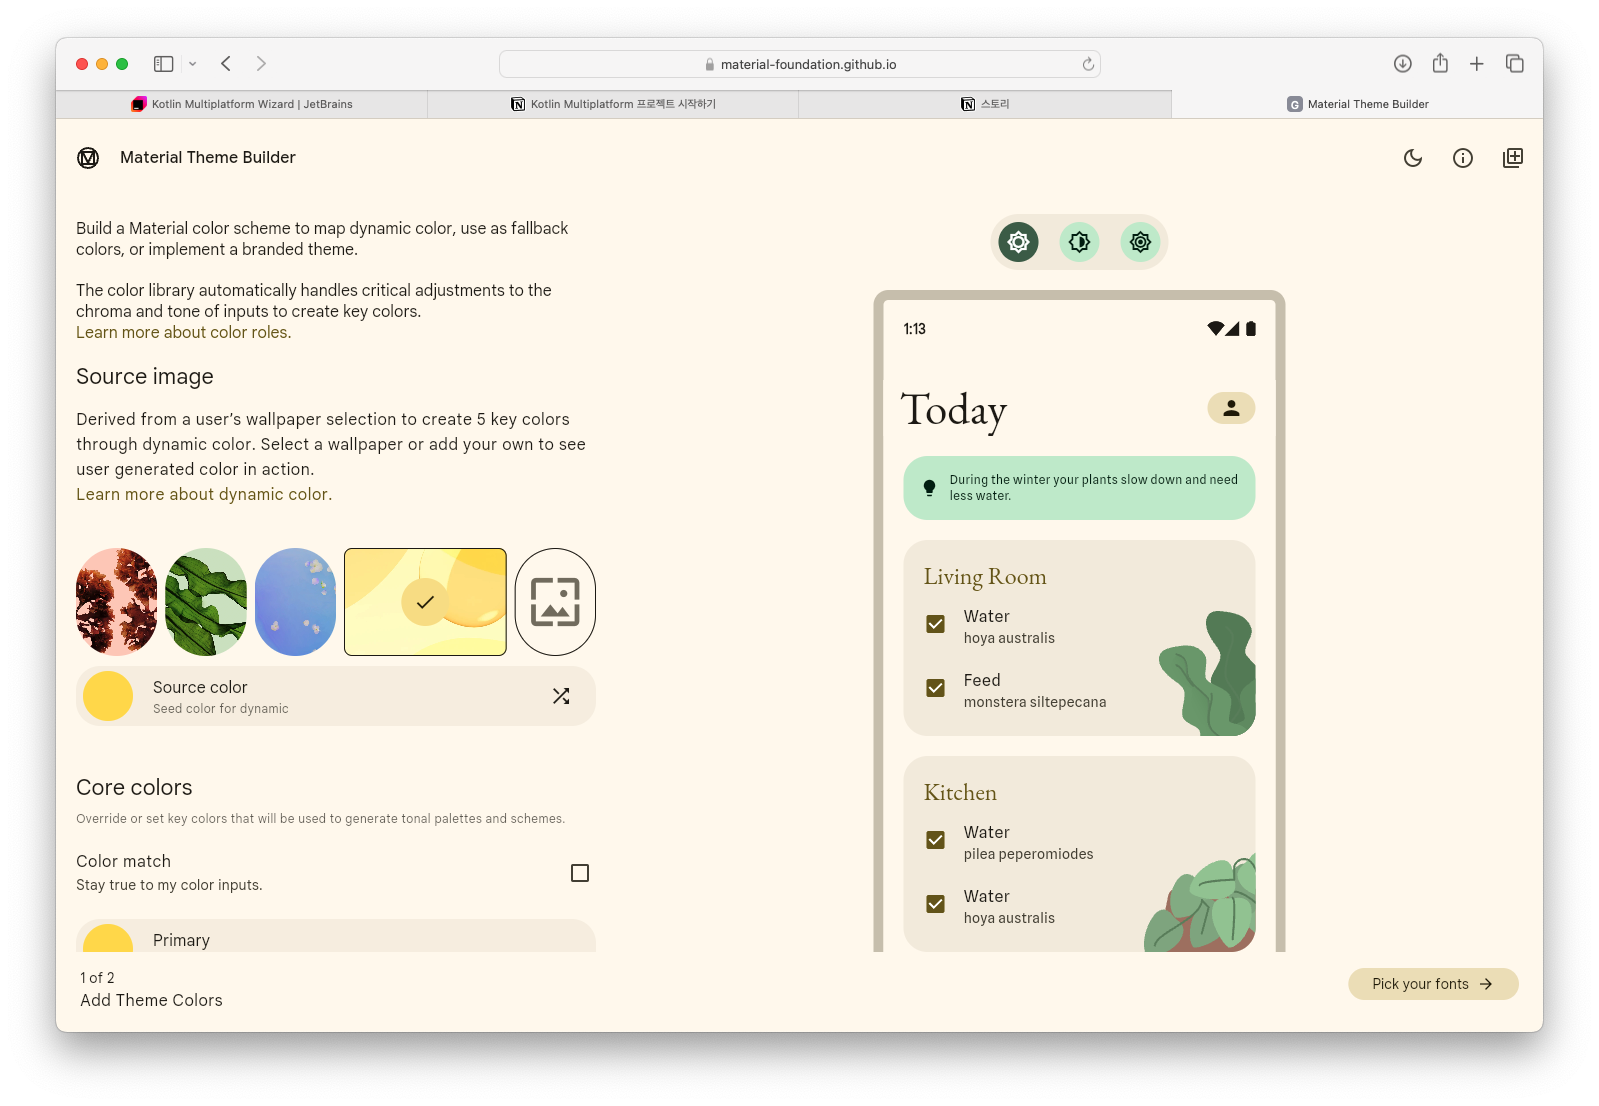
Material Theme Builder를 이용해서 Theme(Color.kt, Theme.kt, Type.kt )을 생성하자.
https://material-foundation.github.io/material-theme-builder/
원하는 색상이나 이미지를 선택하여 Theme의 컬러를 지정할 수 있다. 다 지정하고 화면 우측 상단에 있는 +아이콘을 클릭한다.
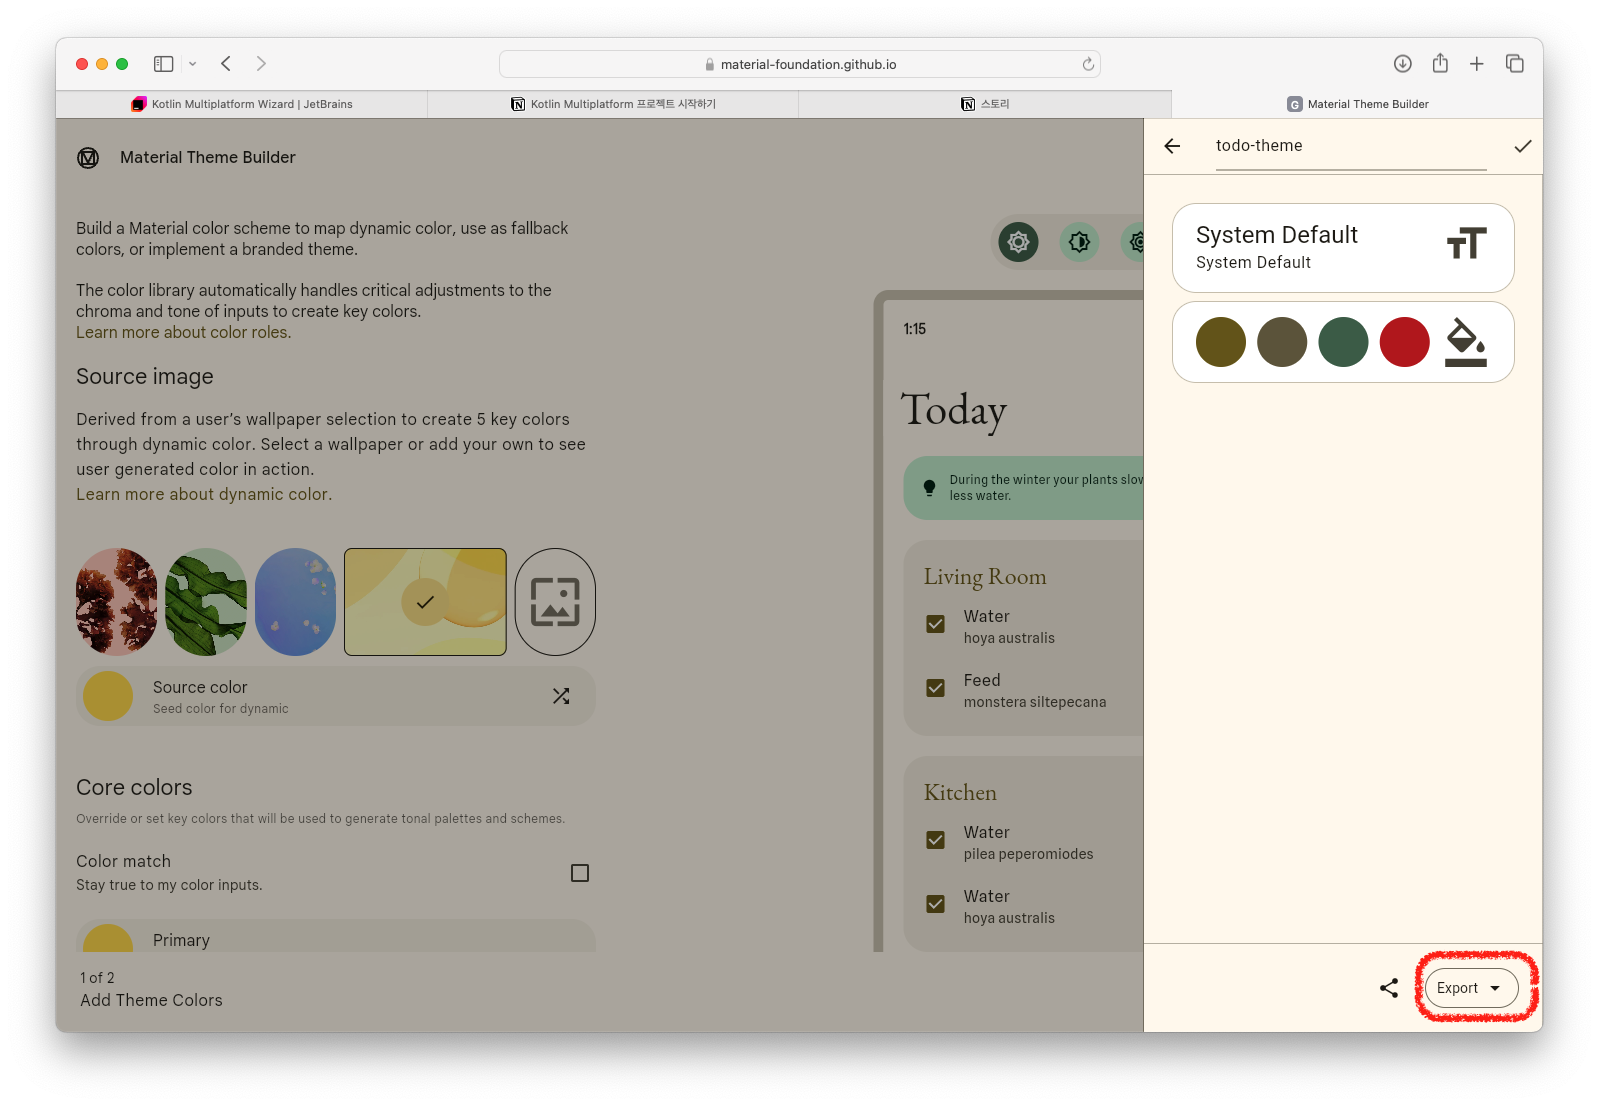
Export를 클릭하여 Jetpack Compose (Theme.kt)로 다운받아준다.
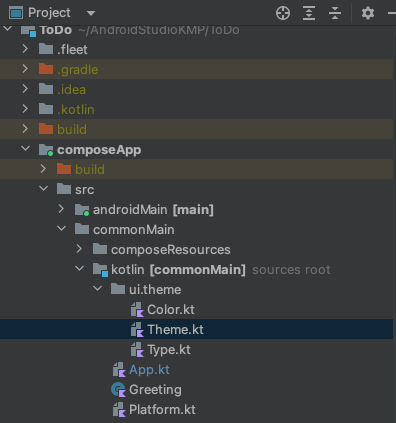
composeApp/src/commonMain/kotlin [commonMain]에 ui.theme 디렉토리를 만든다.

composeApp/src/commonMain/kotlin/ui/theme 디렉토리에 다운로드 받았던 파일의 color, theme, type 파일을 넣어준다.
Theme.kt 파일을 열어서 가장 아래에 있는 AppTheme()를 아래와 같이 수정해준다.
1
2
3
4
5
6
7
8
9
10
11
12
13
14
15
16
17
18
	...

	@Composable
	fun AppTheme(
	    darkTheme: Boolean = isSystemInDarkTheme(),
	    content: @Composable() () -> Unit
	) {
	  val colorScheme = when {
	      darkTheme -> darkScheme
	      else -> lightScheme
	  }

	  MaterialTheme(
	    colorScheme = colorScheme,
	    typography = AppTypography,
	    content = content
	  )
	}
- Theme 적용을 위해 composeApp/src/commonMain/kotlin/App.kt 에 MaterialTheme를 대신해서 AppTheme를 사용한다.
1
2
3
4
5
6
7
8
9
10
11
12
13
14
15
16
17
18
19
20
	@Composable
	@Preview
	fun App() {

	    AppTheme() {
	        var showContent by remember { mutableStateOf(false) }
	        Column(Modifier.fillMaxWidth(), horizontalAlignment = Alignment.CenterHorizontally) {
	            Button(onClick = { showContent = !showContent }) {
	                Text("Click me!")
	            }
	            AnimatedVisibility(showContent) {
	                val greeting = remember { Greeting().greet() }
	                Column(Modifier.fillMaxWidth(), horizontalAlignment = Alignment.CenterHorizontally) {
	                    Image(painterResource(Res.drawable.compose_multiplatform), null)
	                    Text("Compose: $greeting")
	                }
	            }
	        }
	    }
	}
이렇게 하고 실행하면 Theme가 적용된 앱이 우리를 반겨준다.
이 기사는 저작권자의 CC BY 4.0 라이센스를 따릅니다.